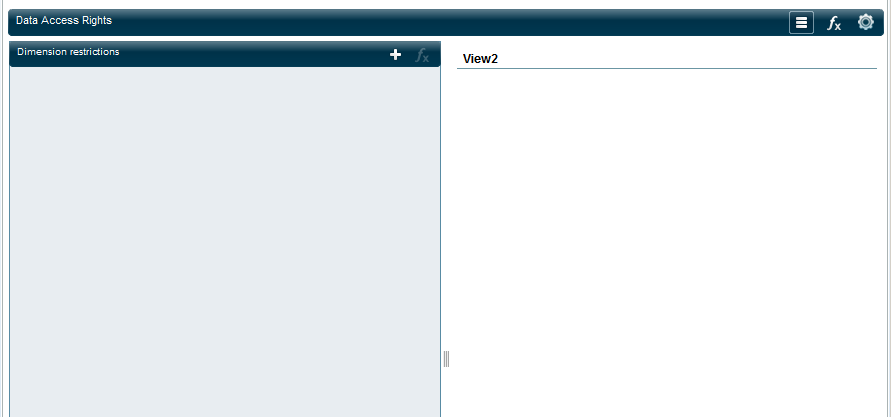
Here you can define restrictions at the level of a dimension in a view. The restriction can be set for the entire dimension or for selected members.
The Data Access Rights tab is enabled only for the Necto and Mixed security modes.
Restrictions can be defined using one of the following modes:
§ ![]() Dimension restriction mode (default)
Dimension restriction mode (default)
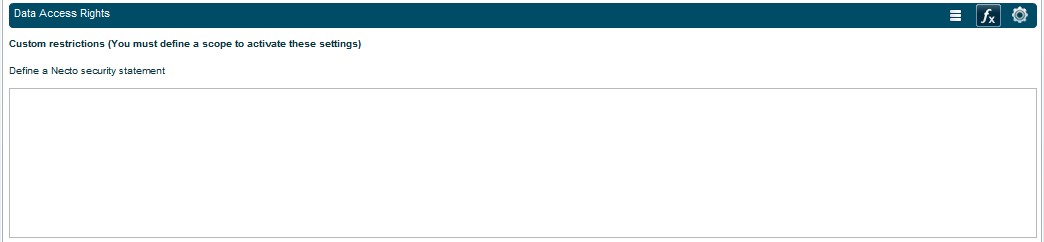
§ ![]() Custom restriction mode
Custom restriction mode
§ ![]() Web service
Web service
In this mode, you define restrictions by selecting a view, a dimension and members.
To define a dimension restriction:
1. On the Dimension Restrictions panel heading, click the Add ![]() button.
button.
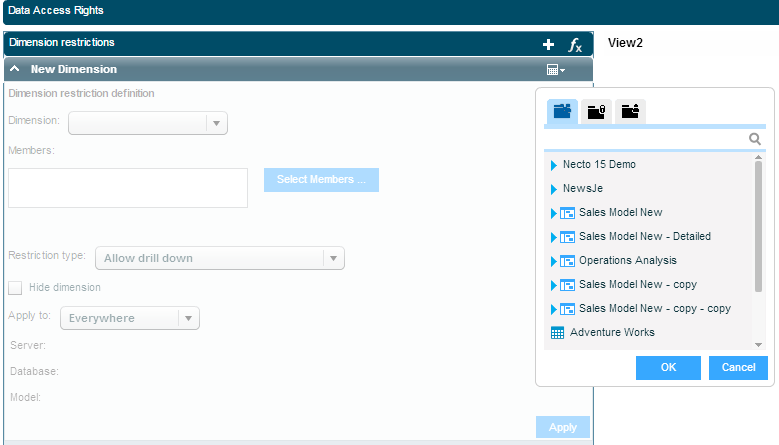
2. From the list that opens, select a view. Use the buttons at the top to display the Public ![]() , Private
, Private ![]() or a user’s
or a user’s ![]() items. You can use the search box to find an item.
items. You can use the search box to find an item.
Click OK. The selected view will display on the right panel.
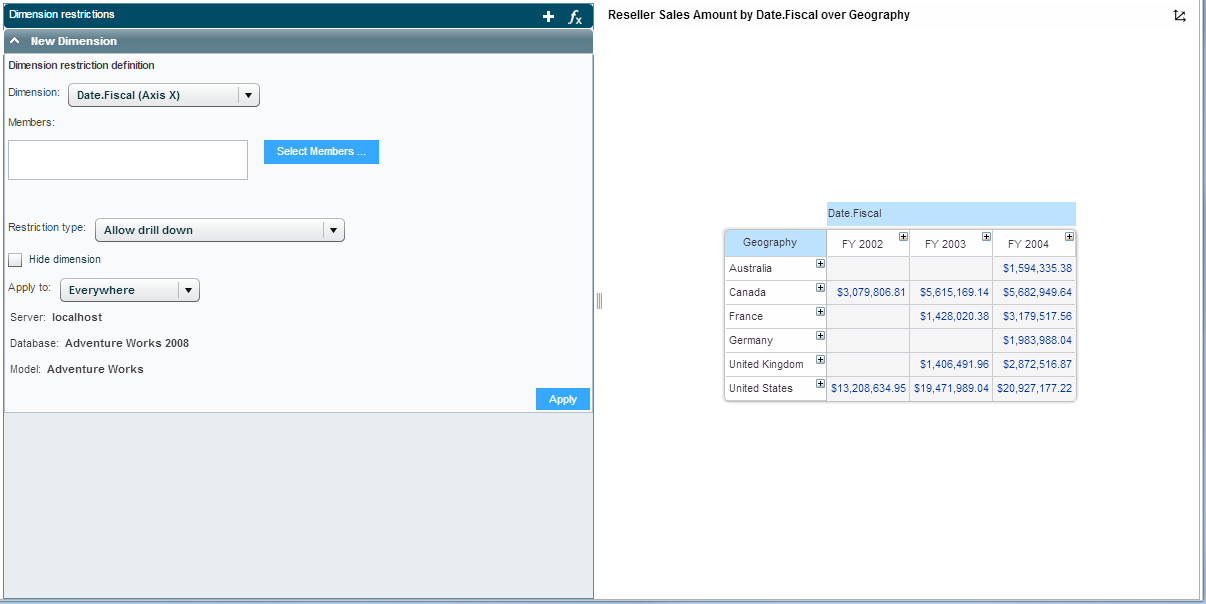
3. In Dimension, select the dimension for which you want to define a restriction.
The Select Members dialog box opens for selecting members from this dimension.
If the restriction should apply to the entire dimension, click Cancel to close the dialog box. You can use the Select Members button to open the dialog box at any time.
4. In Restriction Type, select the relevant option:
|
Restriction type |
Description |
|
Allow drill down |
Enables the user to drill down the dimension or the dimension members. |
|
Allow drill down, show ancestors |
Enables the user to drill down the dimension or the dimension members, and display ancestors. |
|
Hide members |
Hides the dimension’s members. |
|
No drill down, hide parent members |
Does not allow drill down and hides parent members. |
|
No drill down, show parent members |
Does not allow drill down and shows parent members. |
5. Select the Hide Dimension check box to hide the dimension.
6. In Apply To, specify where to apply the restriction.
7. Click Apply.
8. Use the Save ![]() option on the Application Bar to save the definition.
option on the Application Bar to save the definition.
To deactivate or delete a dimension restriction:
To deactivate a restriction, deselect the check box on the heading.
To delete a restriction, click the Delete ![]() button.
button.
![]()
To change to another view:
Use the Select a View ![]() button and select another view from the list.
button and select another view from the list.
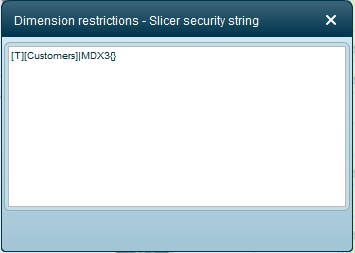
To view the generated MDX expression:
Click the Show MDX ![]() button on the Dimension Restrictions panel heading.
button on the Dimension Restrictions panel heading.

The generated expression displays as illustrated in the following figure.
This option enables you to define custom restrictions using MDX.
Click ![]() on the Data Access Rights tab and enter the MDX expressions.
on the Data Access Rights tab and enter the MDX expressions.
This mode is intended for organizations using their own security mechanism and serves to connect to the external security settings.
Click ![]() on the Data Access Rights tab.
on the Data Access Rights tab.

Enter the web service URL for the page Necto should call when the users try to access the defined data scope.
Enter the parameters you want to pass to this page.